
As we head into 2025, the art of enjoying the outdoors has evolved, and with it, we need practical and innovative solutions to enhance our experiences. A picnic blanket is a must-have for any outdoor gathering. However, traditional picnic blankets often fall short when it comes to protecting against moisture from the ground. Hence, the need for waterproof picnic blankets. In this article, we'll guide you through making your own waterproof picnic blanket, ensuring your outdoor adventures are comfortable and enjoyable.
Required materials
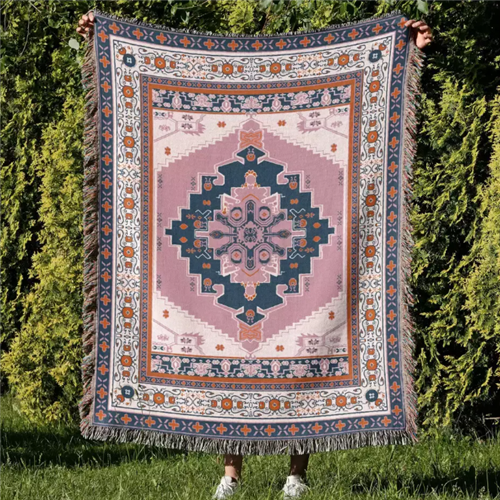
To make a waterproof picnic blanket, you will need the following materials:
Waterproof fabrics: Choose fabrics like ripstop nylon or polyester with a water-resistant coating. These fabrics are lightweight, durable, and water-resistant.
Soft cover fabric: Choose a soft, cozy fabric, such as wool or cotton, for the cover of your blanket. This will make it comfortable to sit on.
Padding (optional): If you want extra cushioning, consider adding a layer of padding between the top and bottom fabric.
Sewing Machine: A sewing machine can make this process easier and faster.
Electrical cord: Use strong, durable electrical cord that can withstand outdoor conditions.
Scissors and pins: Used to cut and secure fabric while sewing.
Tape measure: Make sure your blanket is the desired size.

Step-by-step instructions
Step 1: Measure and cut your fabric
Determine the size of your picnic blanket. A common size is 60" x 80", but you can adjust this to your needs. Once you've determined the size, cut the tarp and fabric to the appropriate size. If you're using filler, cut it to the same size as the picnic blanket.
Step 2: Layering fabric
Start by laying out the tarp with the waterproof side facing up. Next, place the underlay (if used) on the tarp and lay it out with the soft side facing up. Make sure all layers are aligned.
Step 3: Pin the layers together
Pin the layers of fabric together so they don't shift while you sew. Start sewing in one corner and work your way around the fabric, making sure to pin every few inches.
Step 4: Sew the layers together
Use your sewing machine to sew around the edges of the blanket, leaving a small seam allowance (about 1/4"). Be sure to backstitch at both the beginning and end to ensure a secure seam. If you added filling, you may want to sew a few lines down the center of the blanket to prevent the layers from shifting.
Step 5: Trimming the edges
To give your picnic blanket a more refined look, consider sewing the edges with a zigzag stitch or bias tape. This will prevent fraying and ensure durability.
Step 6: Waterproof test
Before taking your new picnic blanket on an outdoor adventure, test its water resistance by placing it on a wet surface or sprinkling it with water to ensure that moisture won't penetrate.
In summary
Making a waterproof picnic blanket in 2025 is not only a fun DIY project, but also a practical solution for outdoor enthusiasts. With just a few materials and some sewing skills, you can create a blanket that will keep you dry and comfortable on your picnic, beach vacation, or camping trip. So, get your supplies ready, unleash your creativity, and enjoy the great outdoors with your very own waterproof picnic blanket!
Post time: Jul-28-2025